
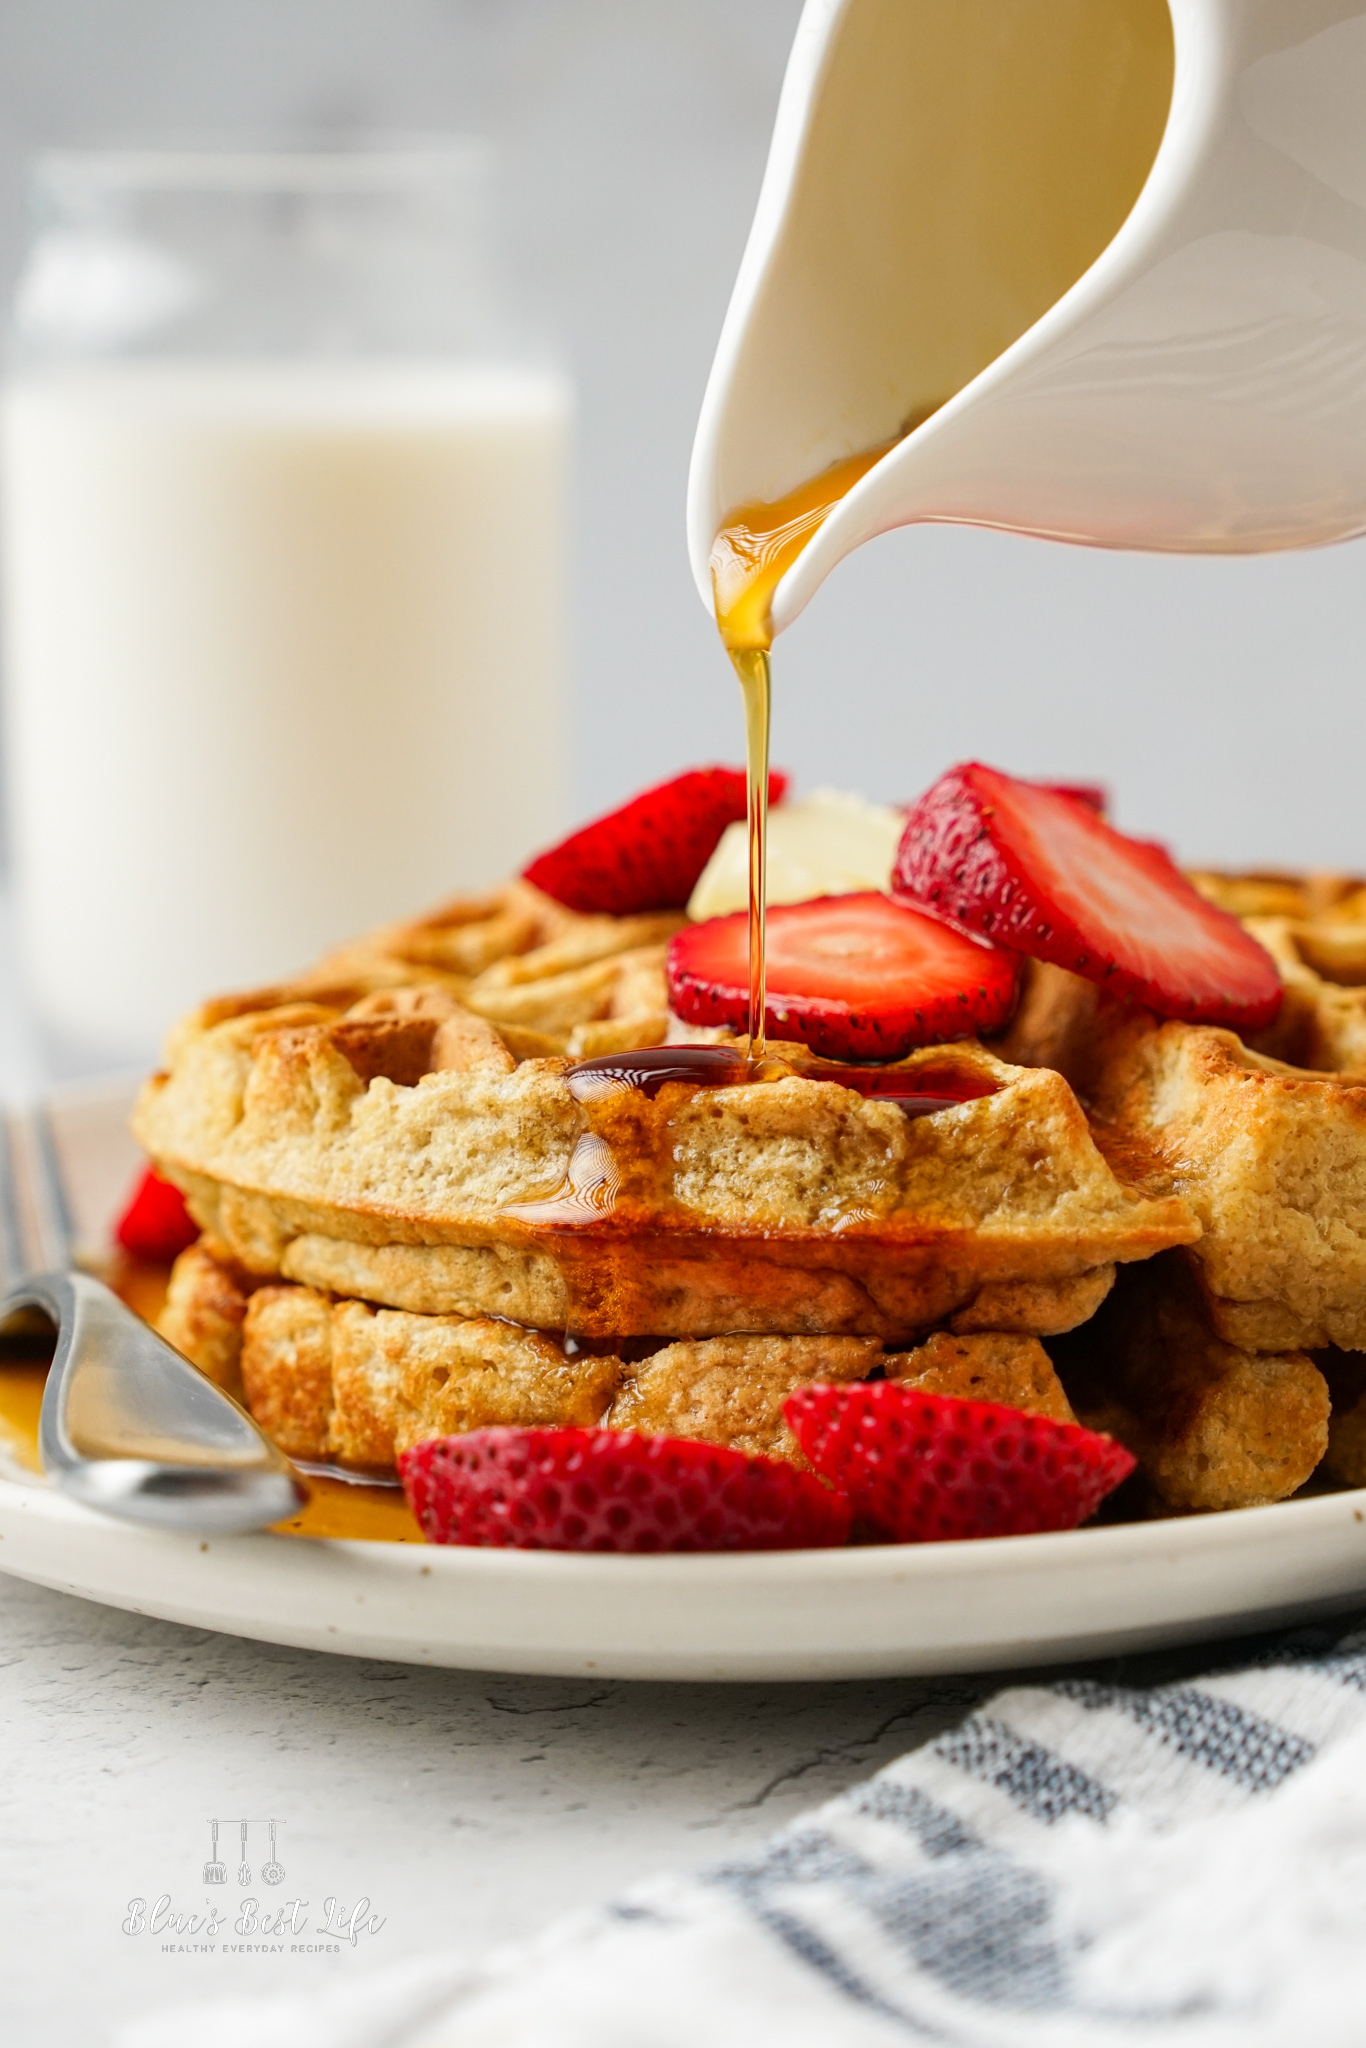
Crisp on the outside, tender on the inside, these delicious oat flour waffles are the perfect way to start your weekend! These homemade waffles are made with whole grains making it the perfect breakfast for anyone on a gluten-free diet!
Want to Save This Recipe?
Enter your email & I'll send it to your inbox. Plus, get great new recipes from me every week!
By submitting this form, you consent to receive emails from Blue's Best Life.
Why These Oat Flour Waffles are the Best!
Perfect waffles should have a crispy exterior and a light fluffy center. Gluten-free waffles made with oat flour are surprisingly light, crispy and have a subtle nutty flavor from the oats!
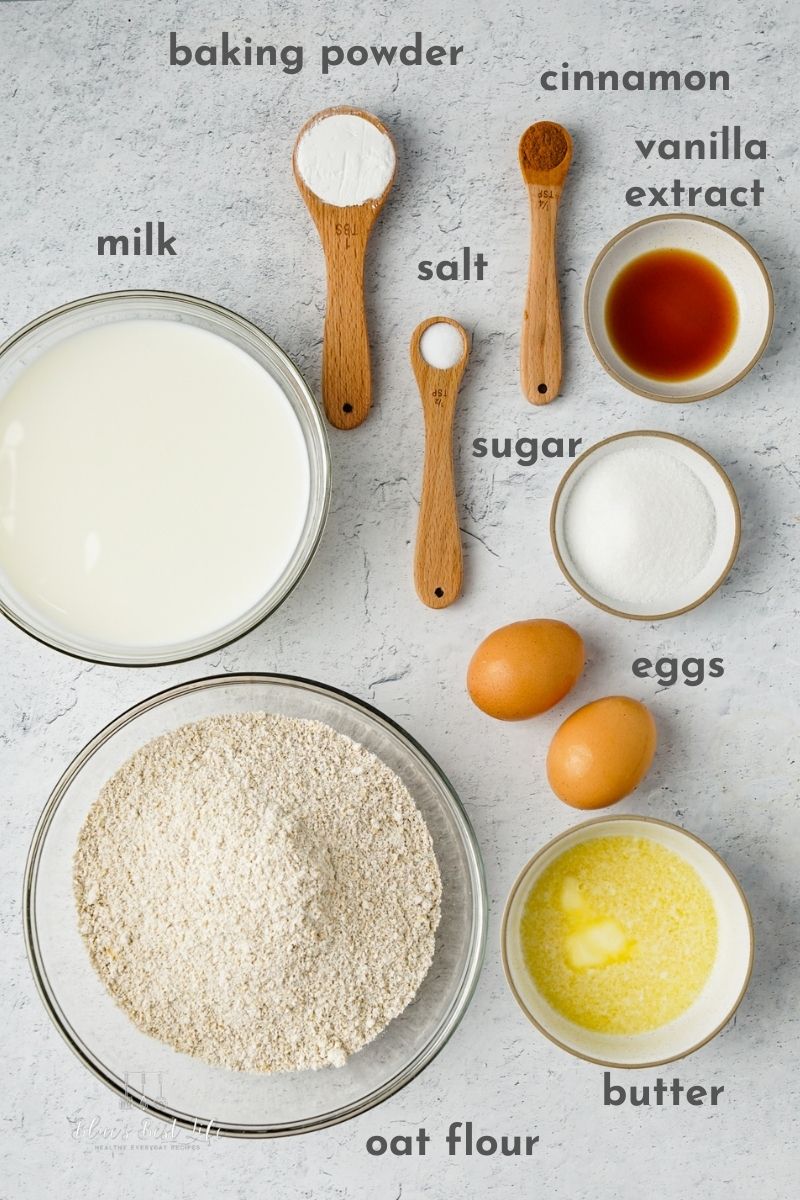
Key Ingredients
oat flour- Oat flour is simply oats that have been processed in a food processor or blender into a fine flour texture. Oats are naturally gluten-free but check the label to make sure that it says they are certified due to some manufacturing facilities having cross contamination. Oat flour can be purchased at your local grocery store or you can make your own oat flour in just a few seconds using a high powered blender.
melted butter-gives the waffles a crisp texture and adds flavor. You could also use coconut oil or vegetable oil.
eggs- Because oats due not have gluten they need something to help bind the ingredients together. Eggs are the binder in this recipe that keeps the oat flour waffles from crumbling. Follow the instructions to separate the egg yolks from the whites to make fluffy waffles.
milk- I used whole milk for this recipe, however almond milk or oat milk are good substitutions for dairy milk.
Step-By-Step Instructions
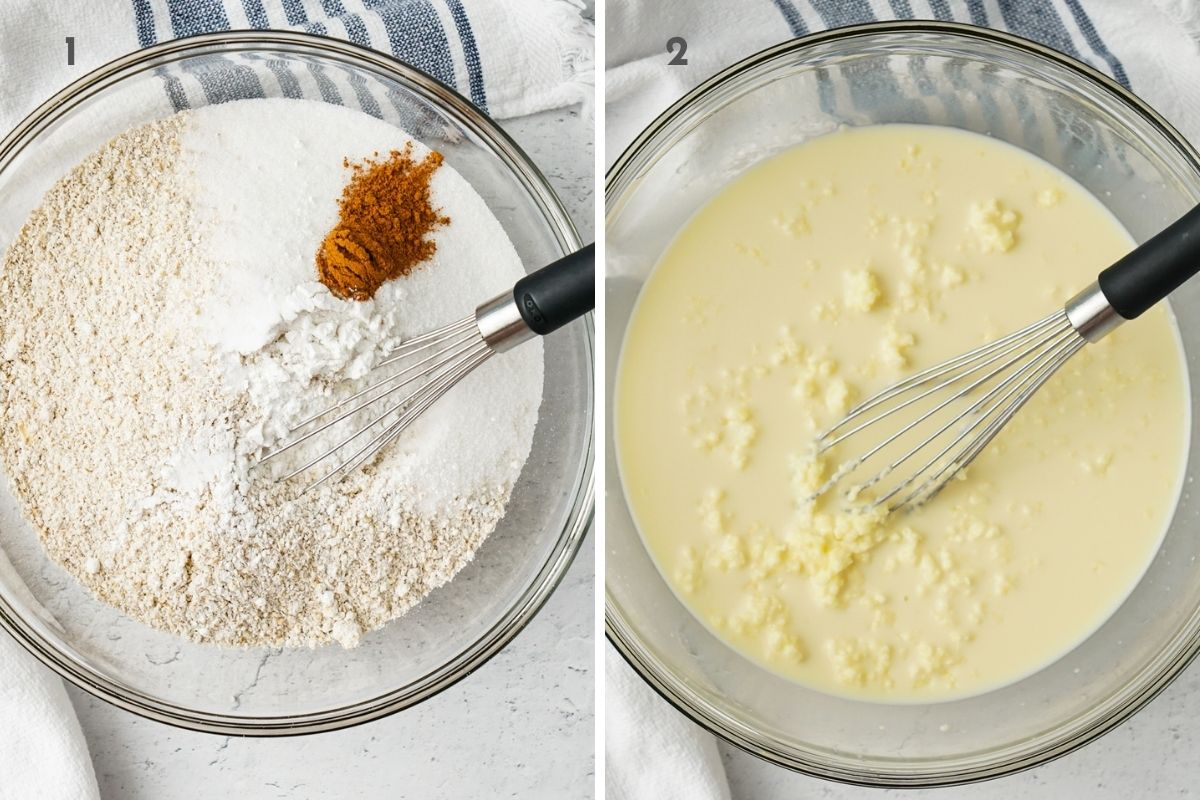
Start by whisking together the oat flour, baking powder, sugar, salt and cinnamon in a large mixing bowl.
In a separate bowl mix together the egg yolks, milk, and vanilla extract and butter. The butter will solidify in the cold milk, but this will melt into the waffles and give a nice texture and flavor.
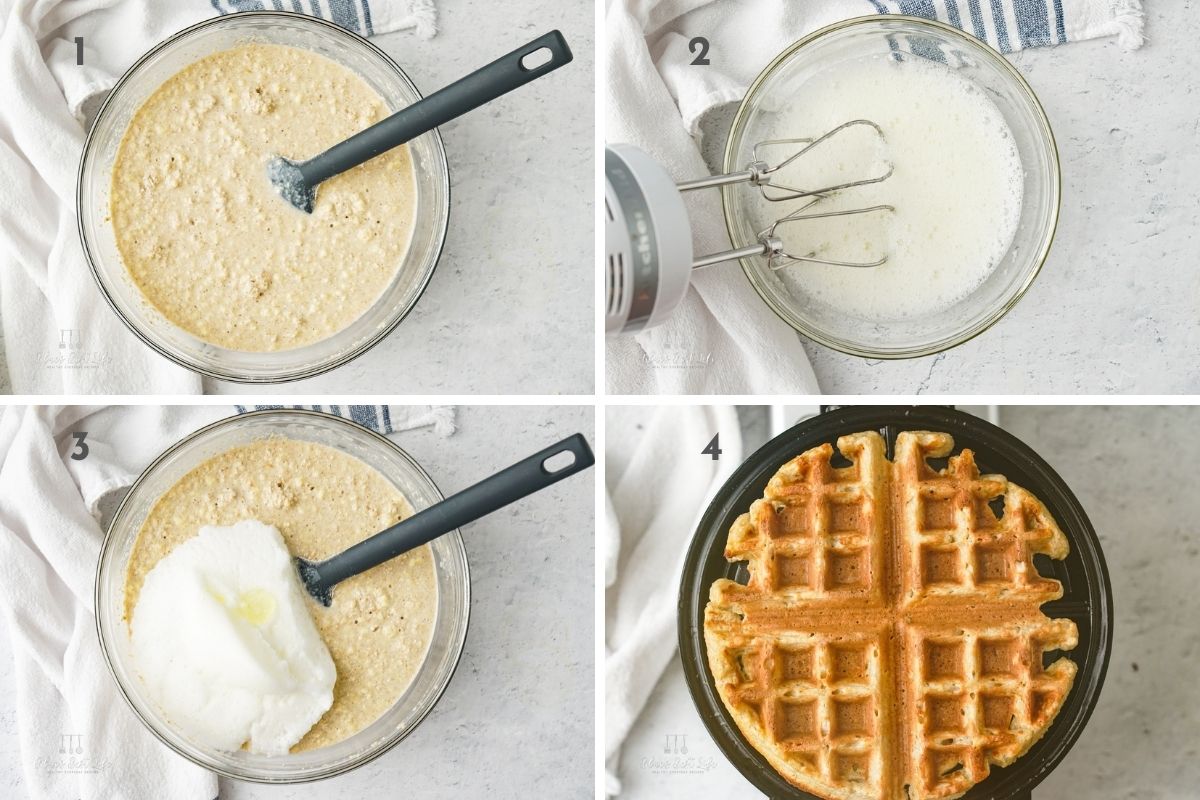
Next it is time to combine the wet ingredients and dry ingredients. Use a rubber spatula to gently combine. Do not panic if this batter looks very runny. This is why we let the batter rest for 10 minutes so that the oat flour can absorb the milk.
Set the batter aside and whip the egg whites until stiff peaks form. By mixing the egg whites in separately this will give you a light and fluffy waffle texture. The easiest way to do this is with a hand mixer. Check out this complete tutorial on how to whip egg whites to form stiff peaks. After the egg whites are whipped gently fold into the waffle batter.
Once the waffle batter has had its 10 minute rest period it is time to pour the batter on to your preheated hot waffle iron. Most waffle makers have a timer to let you know when they are done. Watch for the indicator light or the waffle maker to beep. I like crispy waffles so I let mine cook for a few extra seconds just to get them crisp and golden brown.
Expert Tips
- Let the batter rest for 10 minutes before adding to the waffle iron. This gives the oat flour time to absorb the milk. Do not panic if the batter seems very thin in the beginning before it has its rest time. It will thicken quickly.
- The melted butter will be a little lumpy in the batter because it solidifies when it comes in contact with cold ingredients. Let the milk and eggs come to room temperature to help with this. If it is still a little lumpy do not worry it will melt in the batter during the cooking process and still taste delicious! You can substitute vegetable oil, it will change the flavor slightly.
Serving Suggestions
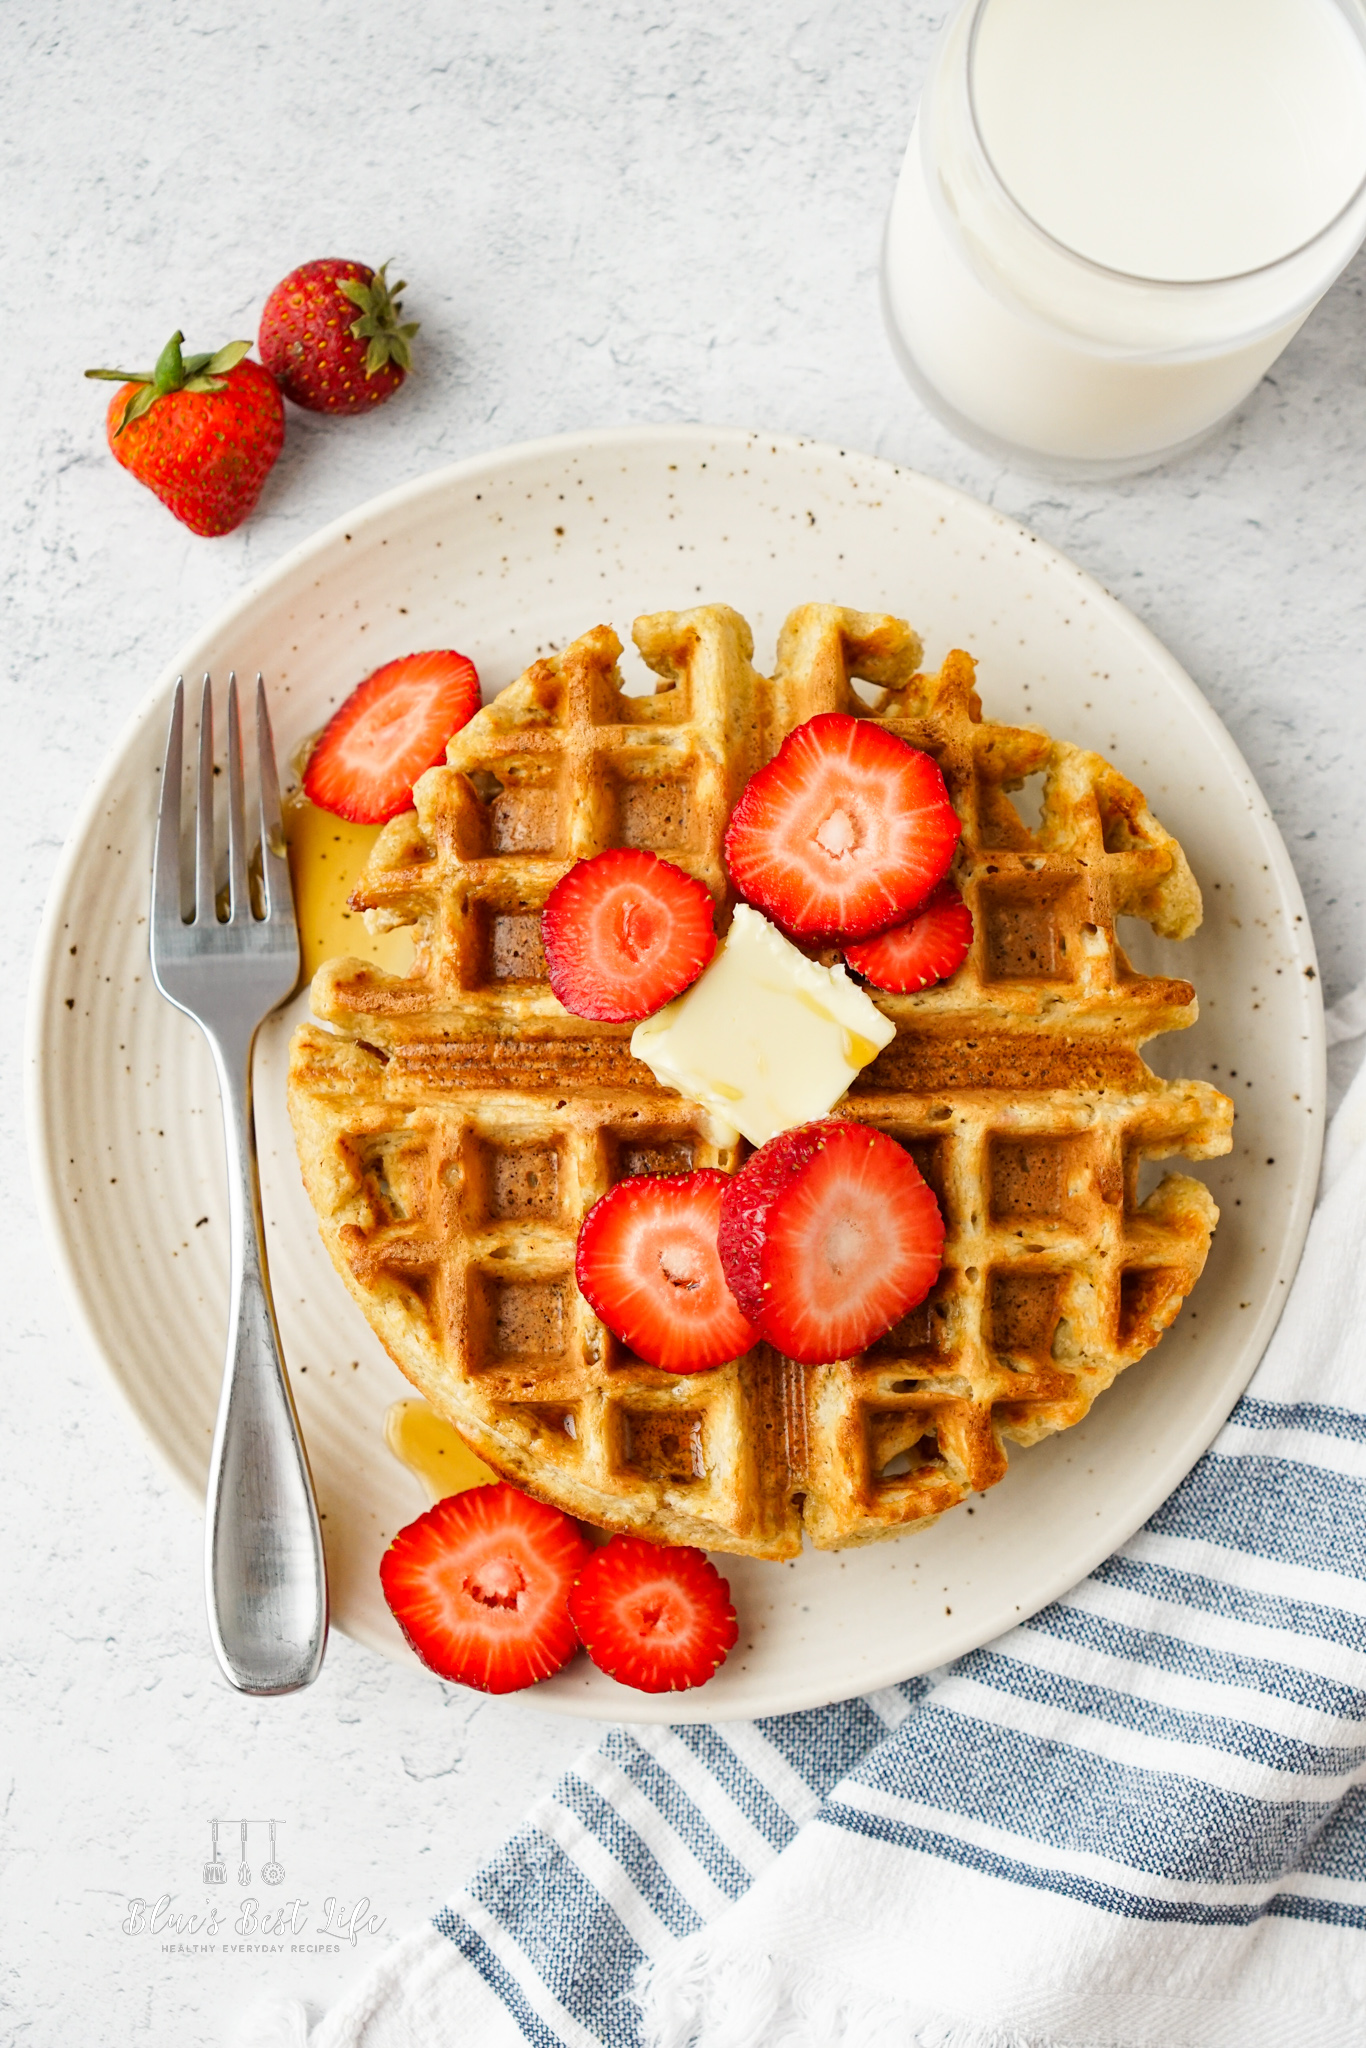
Serve the waffles with pure maple syrup, a pat of butter and fresh berries. Here's a few other ideas to with your waffles. You can even serve these at brunch and make a waffle charcuterie board so your guests can add their own toppings!
- banana slices
- nut butter
- chocolate sauce
- fresh fruit
- chocolate chips
- ice cream
- Greek yogurt
How to Store and Reheat Leftover Waffles
Waffles are a great breakfast to make ahead and reheat later in the week. Let the waffles cool on a wire rack before storing in an airtight container. Waffles can be stored in the refrigerator for up to 3 days and in the freezer for 6-8 months.
To reheat waffles pop them in your toaster or toaster oven until warm and crispy.
FAQ
How do I Keep My Waffles Crispy?
Keep your waffles warm and crispy while cooking the other batches by placing them on a wire cooling rack and in the oven set at 200 degrees. Do not stack your waffles because the heat will create moisture and make them soft.
Is Oat Flour Better For You?
Because oat flour is basically just ground oats it has all of the same nutritional benefits of oatmeal. Oat flour is very healthy when compared to all-purpose flour or whole wheat flour because it has more protein and fiber.
Looking for Other Gluten-Free Breakfast Ideas? Try These!
Almond Flour Crepes (Gluten-Free)
Almond Flour Banana Muffins {Gluten-Free}
Gluten Free Banana Cake with Cream Cheese Frosting
Did you try this recipe? Please let me know what you think! Leave a comment below, and a 5- star rating. I would love to hear from you! Subscribe Here to get new recipes sent straight to your inbox!

Light and Crispy Oat Flour Waffles (Gluten-Free)
Equipment
- waffle maker
Ingredients
- 2 ¾ cups oat flour
- 3 tablespoons sugar
- 1 tablespoon baking powder
- ½ teaspoon salt
- ¼ teaspoon cinnamon
- 2 eggs, separated
- 6 tablespoons melted butter
- 2 cups milk
- 2 teaspoon vanilla extract
Instructions
- In a large bowl whisk together the oat flour, sugar, baking powder, salt and cinnamon.
- In a small bowl separate the egg whites from the yolks. Place the yolks in a larger bowl with the milk, vanilla extract and melted butter. Use a hand whisk to mix all ingredients together. If the butter is slightly clumped from solidifying in the milk it is okay because it will melt as it cooks in the waffle iron.
- Add the wet and dry ingredients together and use a spatula to mix well. The batter may seem very thin at first but will thicken during the resting time.
- Use a hand mixer to whip the egg whites until stiff peaks form. Then add the egg whites to the waffle batter and gently stir to combine.
- At this point the batter needs to rest for 10 minutes so that the oat flour can absorb the milk.
- While the batter is resting turn the waffle iron on so that it is hot and ready to go.
- Before adding the batter make sure your waffle iron is properly greased by using a silicone brush to brush a small amount of butter or oil on the waffle maker.
- Use the measuring cup that came with your waffle iron to portion out the batter onto the center of the hot waffle iron. Spread the batter around and close the lid.
- Wait for the indicator to know when the waffle is finished cooking. I cooked mine for a few extra seconds so it was extra crispy.
- Keep the waffles warm while cooking other batches by placing them on a wire rack in a 200 degree oven. Do not stack the waffles because this will make them soggy.


Leave a Reply