

Stuffed Baked Apples are one of my favorite ways to celebrate fall, especially when the kitchen starts smelling like cinnamon and apples baking in the oven. These tender apples are stuffed with a buttery, maple-sweetened oat filling and baked low and slow until they're soft, juicy, and practically melting off the spoon. It's an easy fall dessert that looks impressive but takes just a few minutes of hands-on prep.
Want to Save This Recipe?
Enter your email & I'll send it to your inbox. Plus, get great new recipes from me every week!
By submitting this form, you consent to receive emails from Blue's Best Life.
Why You'll Love This Baked Apple Recipe!
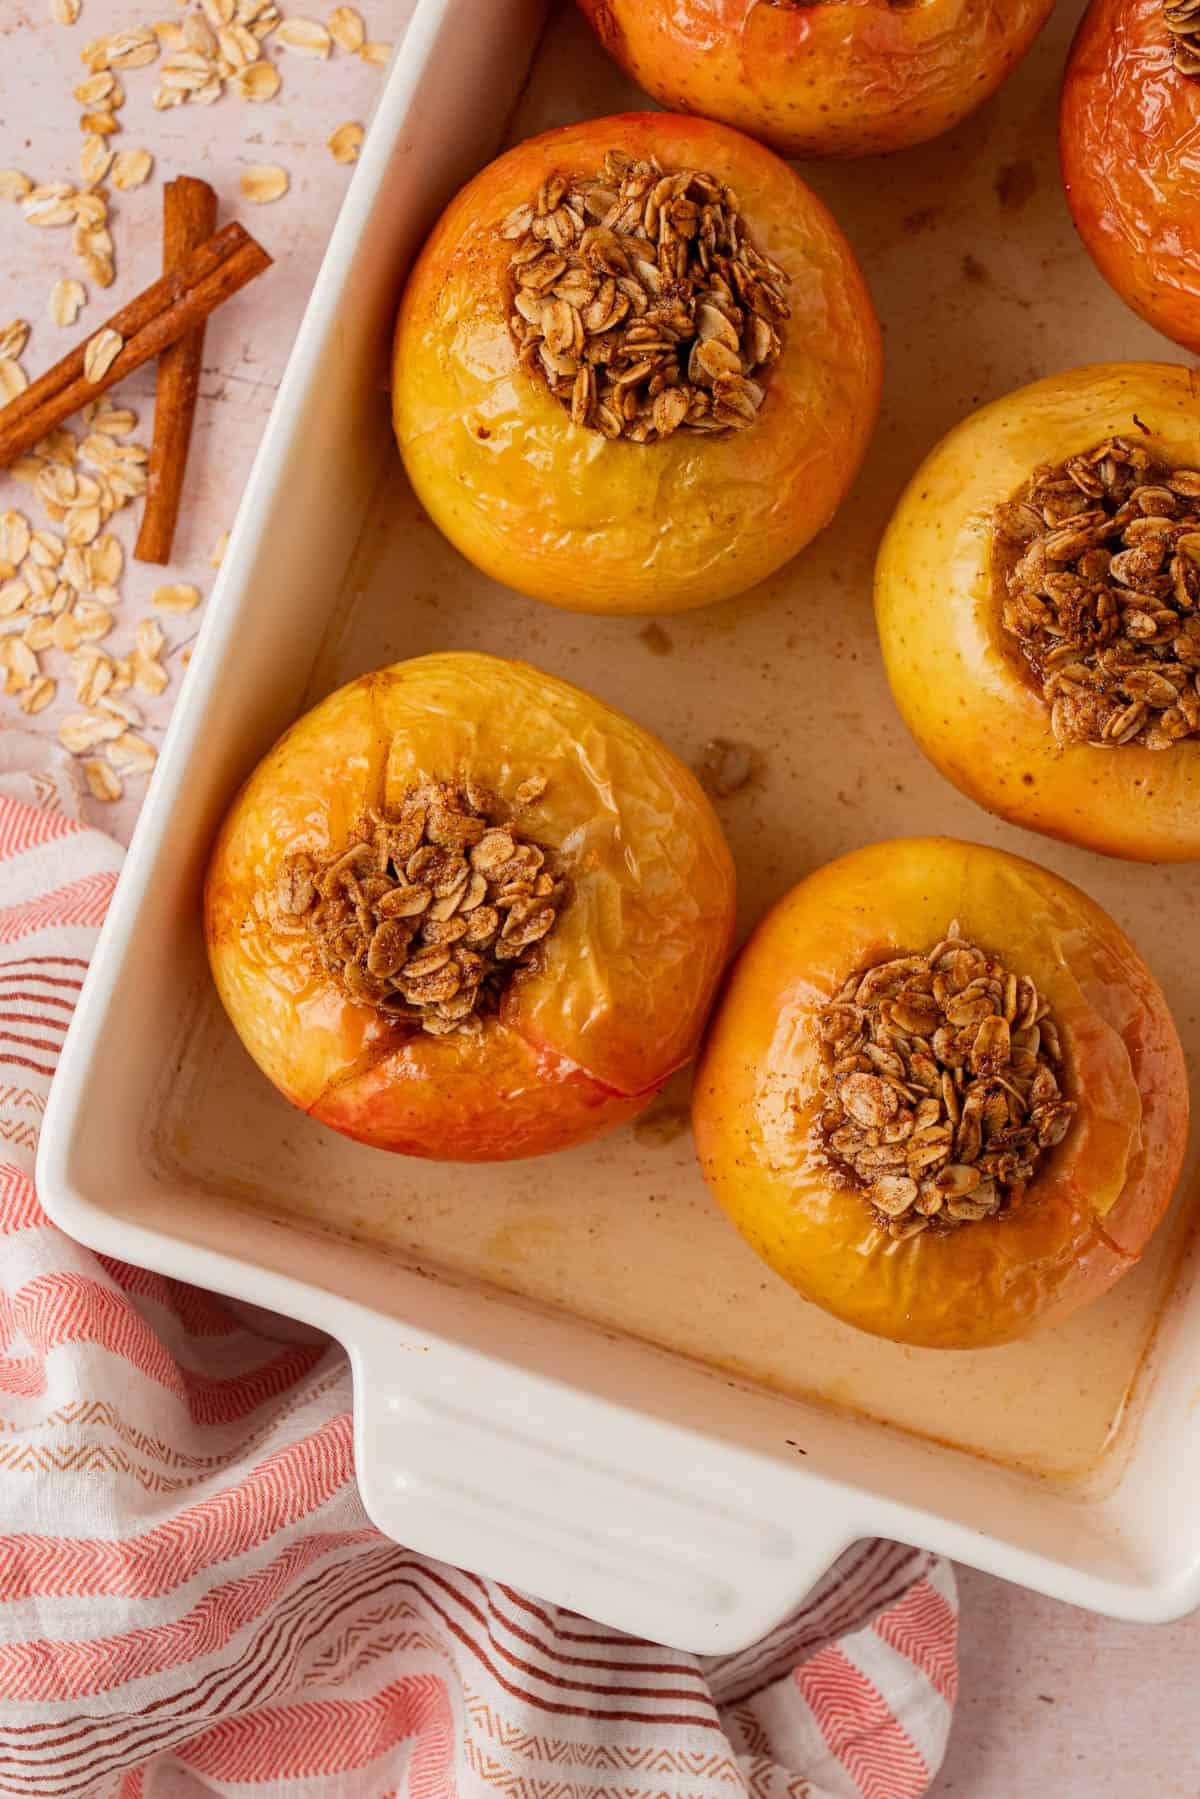
If you love the flavors of apple pie but don't want to fuss with a crust, this stuffed baked apple recipe is for you. Honeycrisp apples get hollowed out and filled with a warm oat, brown sugar, and maple filling, then baked until tender. Still not convinced? Here's why this will be your new favorite easy baked apples recipe
- Simple Ingredients: Everything in this recipe is likely already in your pantry.
- No Crust Required: all the cozy flavor of apple pie without rolling out any dough.
- Sweetened with a touch of brown sugar and maple syrup, these apples stay perfectly sweet without being overly sugary.
- Easy to customize: add raisins, chopped pecans, or a pinch more spice to make it your own.
Equipment Needed
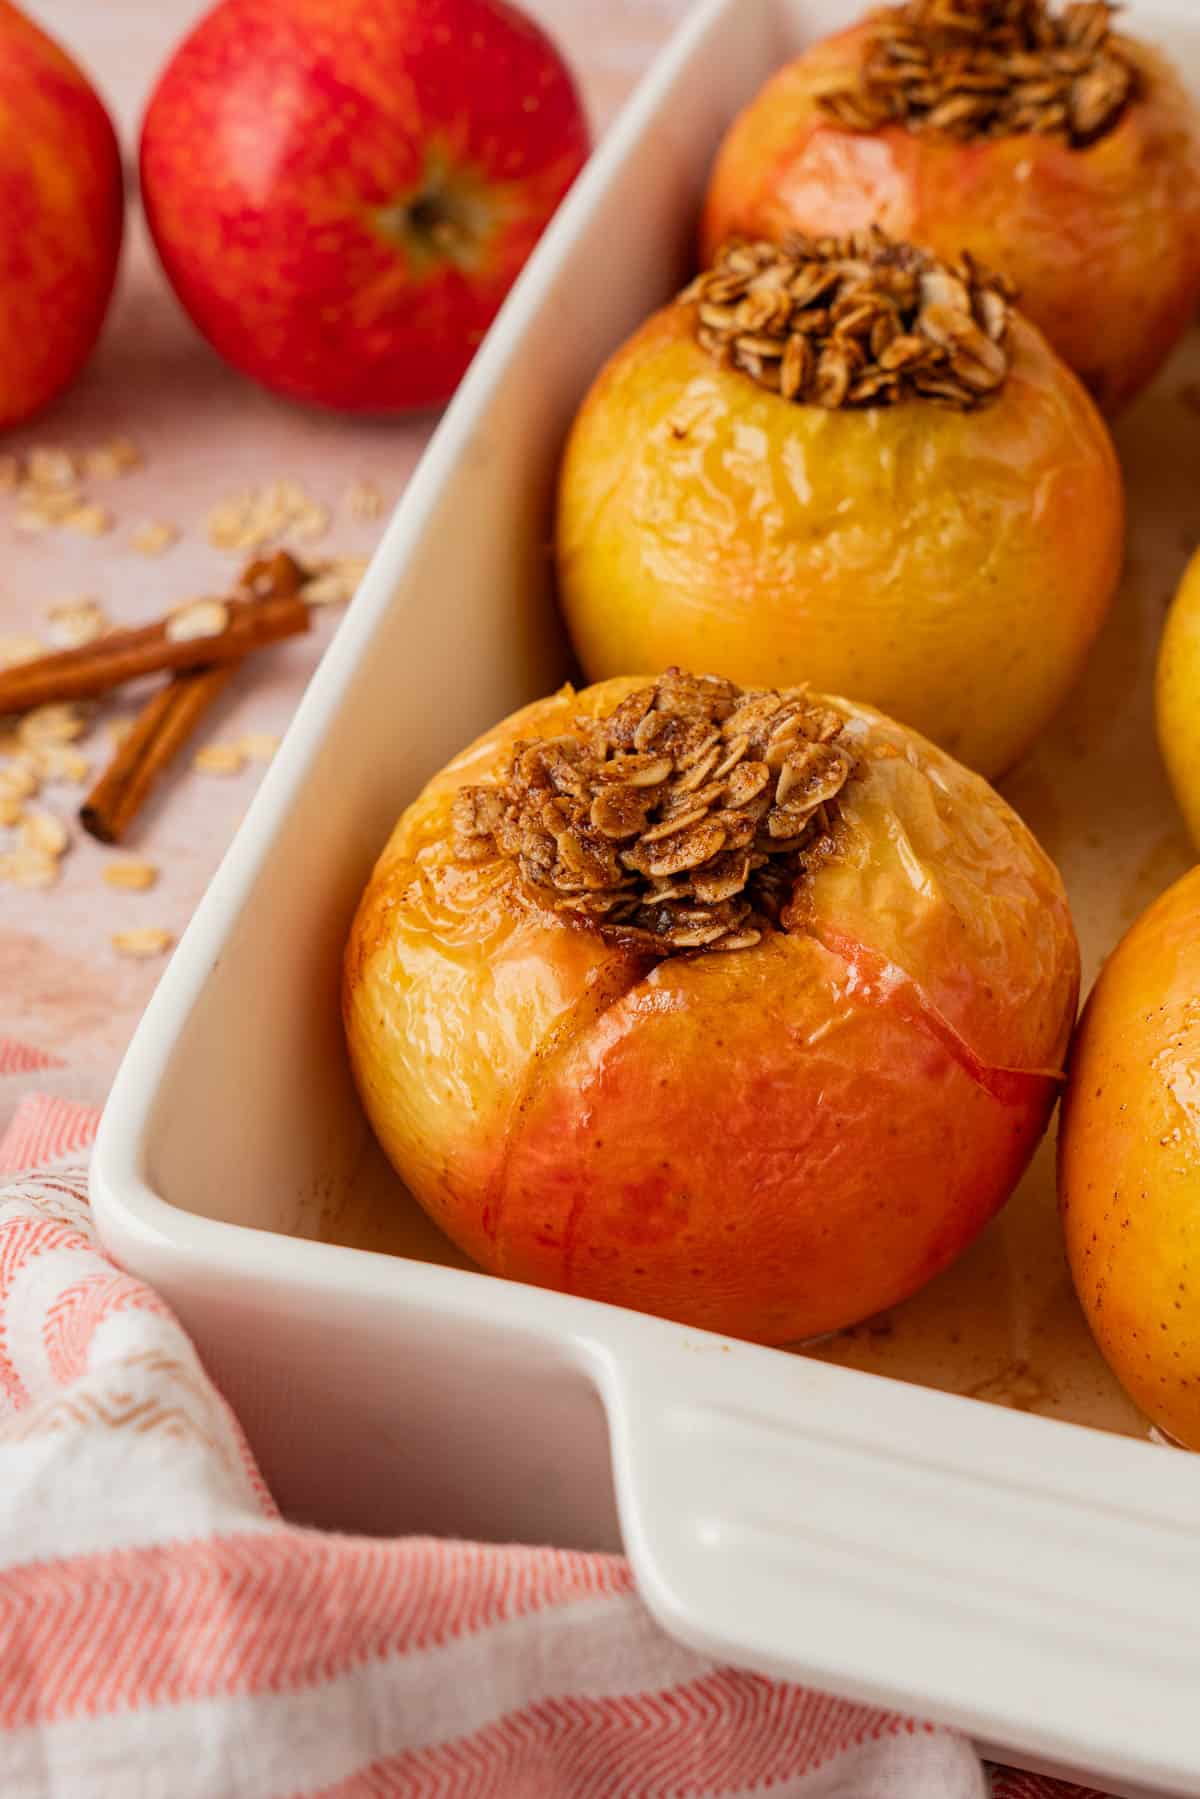
- Baking dish or pie plate large enough to hold all 6 apples
- Paring knife
- Spoon
- Mixing bowl
Key Ingredients
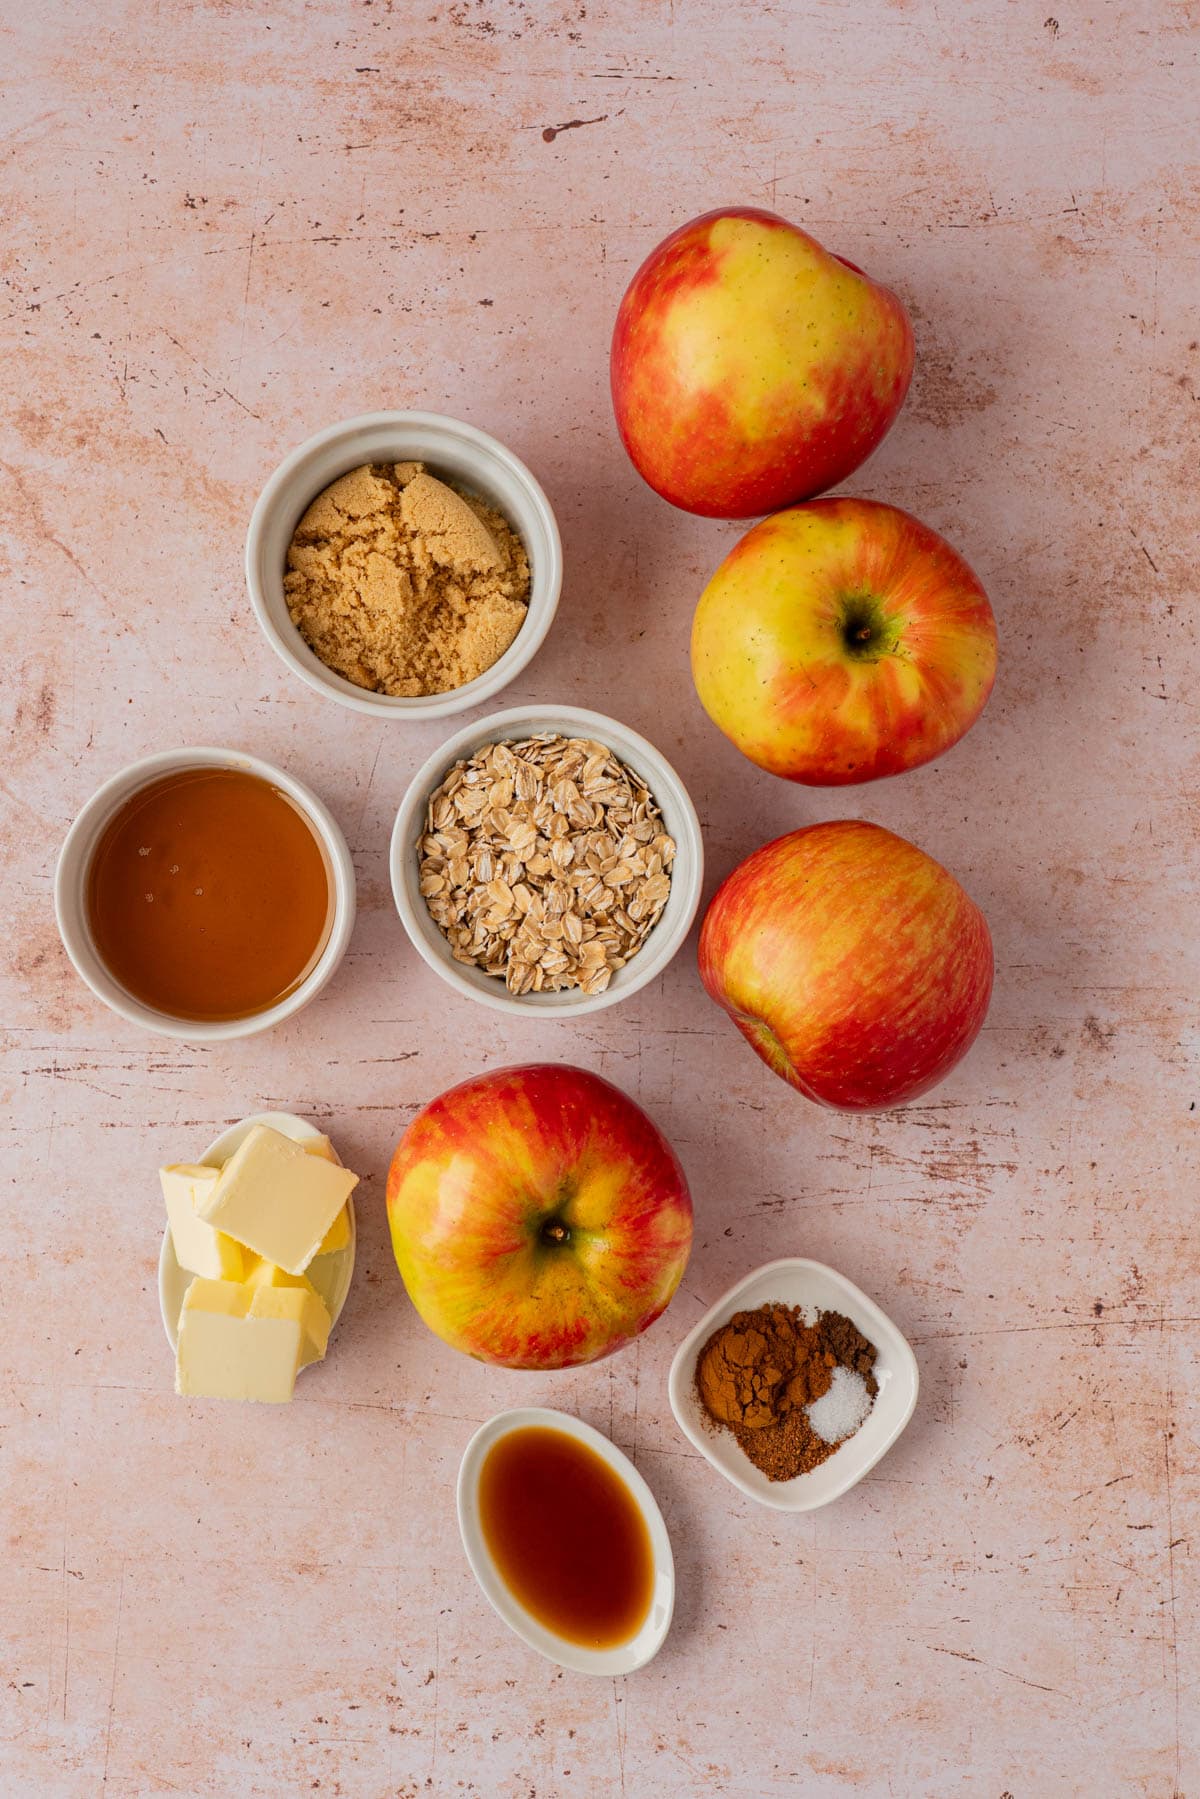
Honeycrisp apples: I love using Honeycrisp for baked apples because they're firm enough to hold their shape in the oven but still bake up tender. Any other firm apple variety will work too.
Old-fashioned oats: these give the filling a hearty, chewy texture that soaks up all that buttery, maple goodness.
Brown sugar: Adds warmth and a deep caramel-like sweetness to the filling.
Maple syrup: A little maple syrup takes these baked cinnamon apples to the next level and pairs so well with the warm spices.
Melted butter: This brings the oat filling together and helps it turn golden and slightly crisp on top as it bakes.
Cinnamon, nutmeg, and allspice: This cozy spice blend is what makes these smell and taste like fall in every bite. The allspice is optional, but I love adding it if I have it on hand
Vanilla extract: Just a touch, to round out the filling with a warm, sweet flavor.
Water poured into the bottom of the baking dish: The water creates steam in the oven so the apples stay soft and juicy instead of drying out.
Step-By-Step Instructions
Preheat your oven to 375℉ and prepare a baking dish or pie plate large enough to hold all six apples snugly.
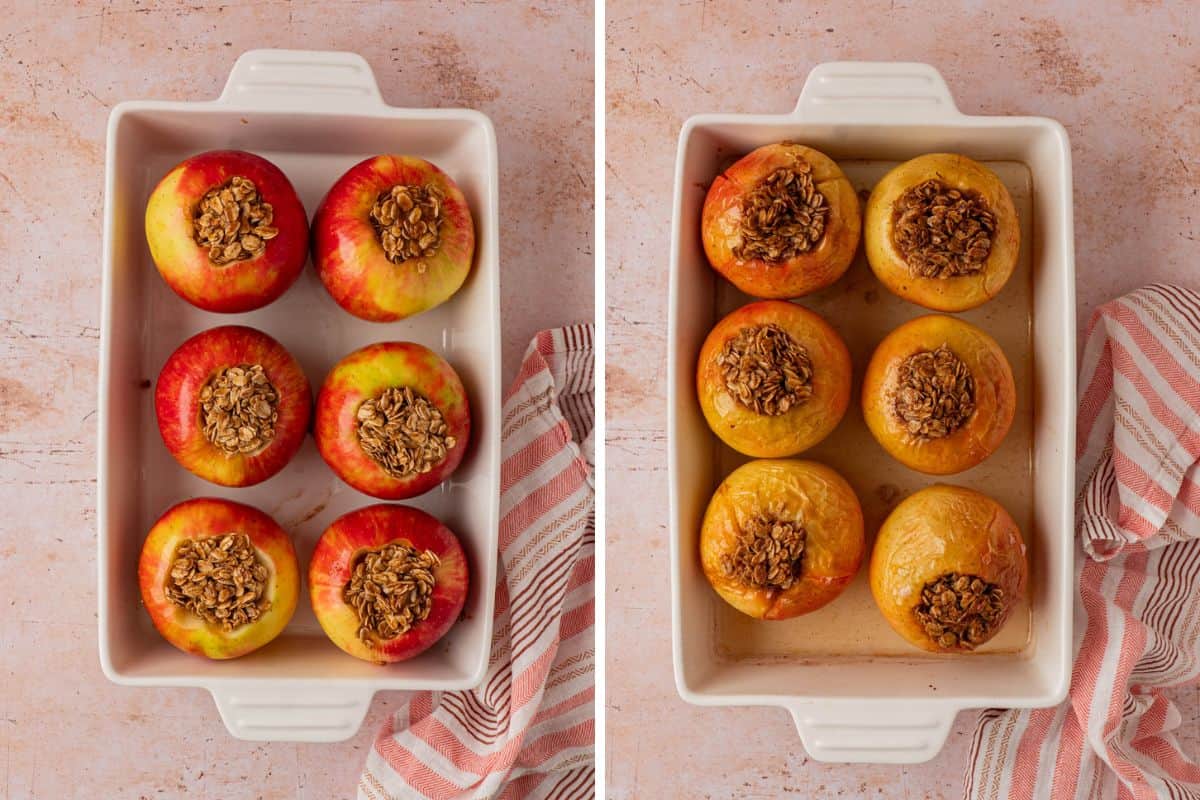
Wash and dry the apples, then use a paring knife and a spoon to hollow out the core of each one. You're creating a little well to hold the oat filling, so remove all the seeds and the core, but leave the bottom of the apple intact so the filling stays put while baking.
Line the hollowed apples up in your baking dish.
In a mixing bowl, stir together the oats, brown sugar, maple syrup, melted butter, and warm spices until well combined.
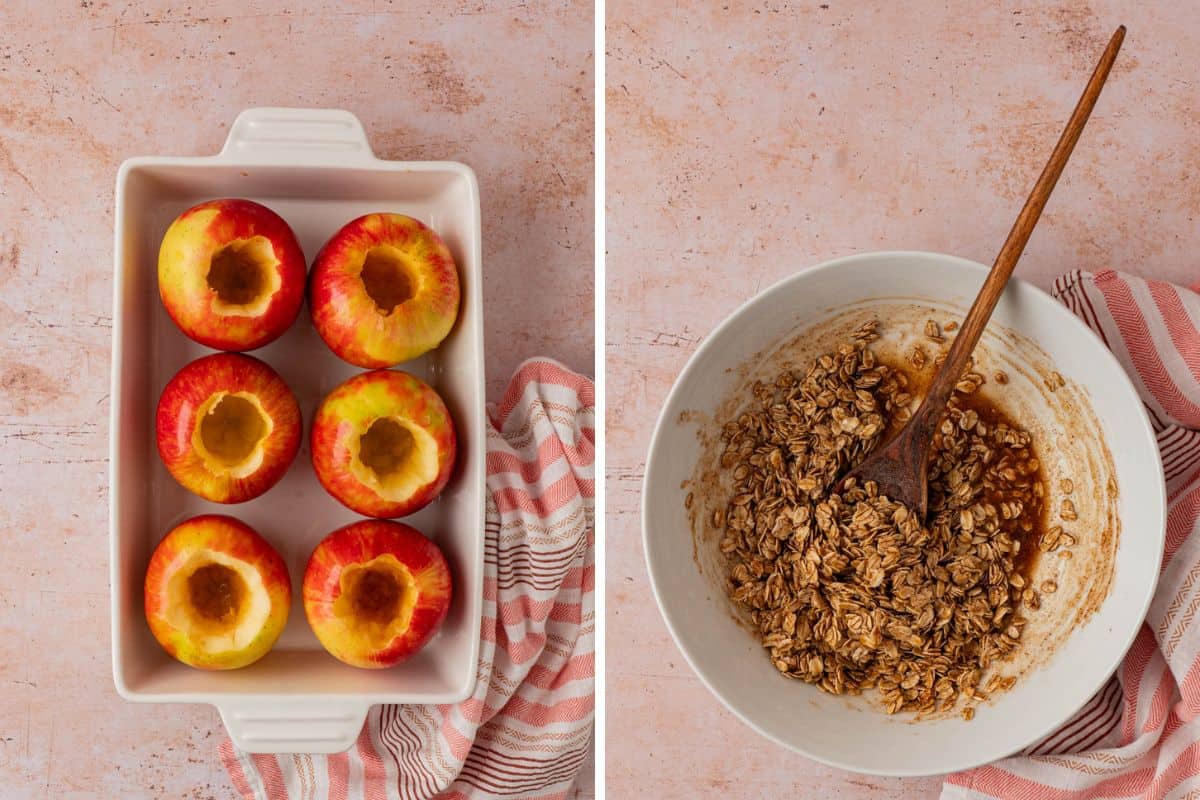
Spoon the oat mixture generously into the center of each apple. Pour the water into the bottom of the baking dish; this trick creates steam in the oven and keeps the apples soft and juicy instead of letting them dry out.
Bake in the preheated oven for 45 to 60 minutes. The exact time will depend on the size and variety of apples you're using, as well as how soft you like your baked apples.
Once the apples are baked to your desired softness, they're ready to serve.
Serving Recommendations
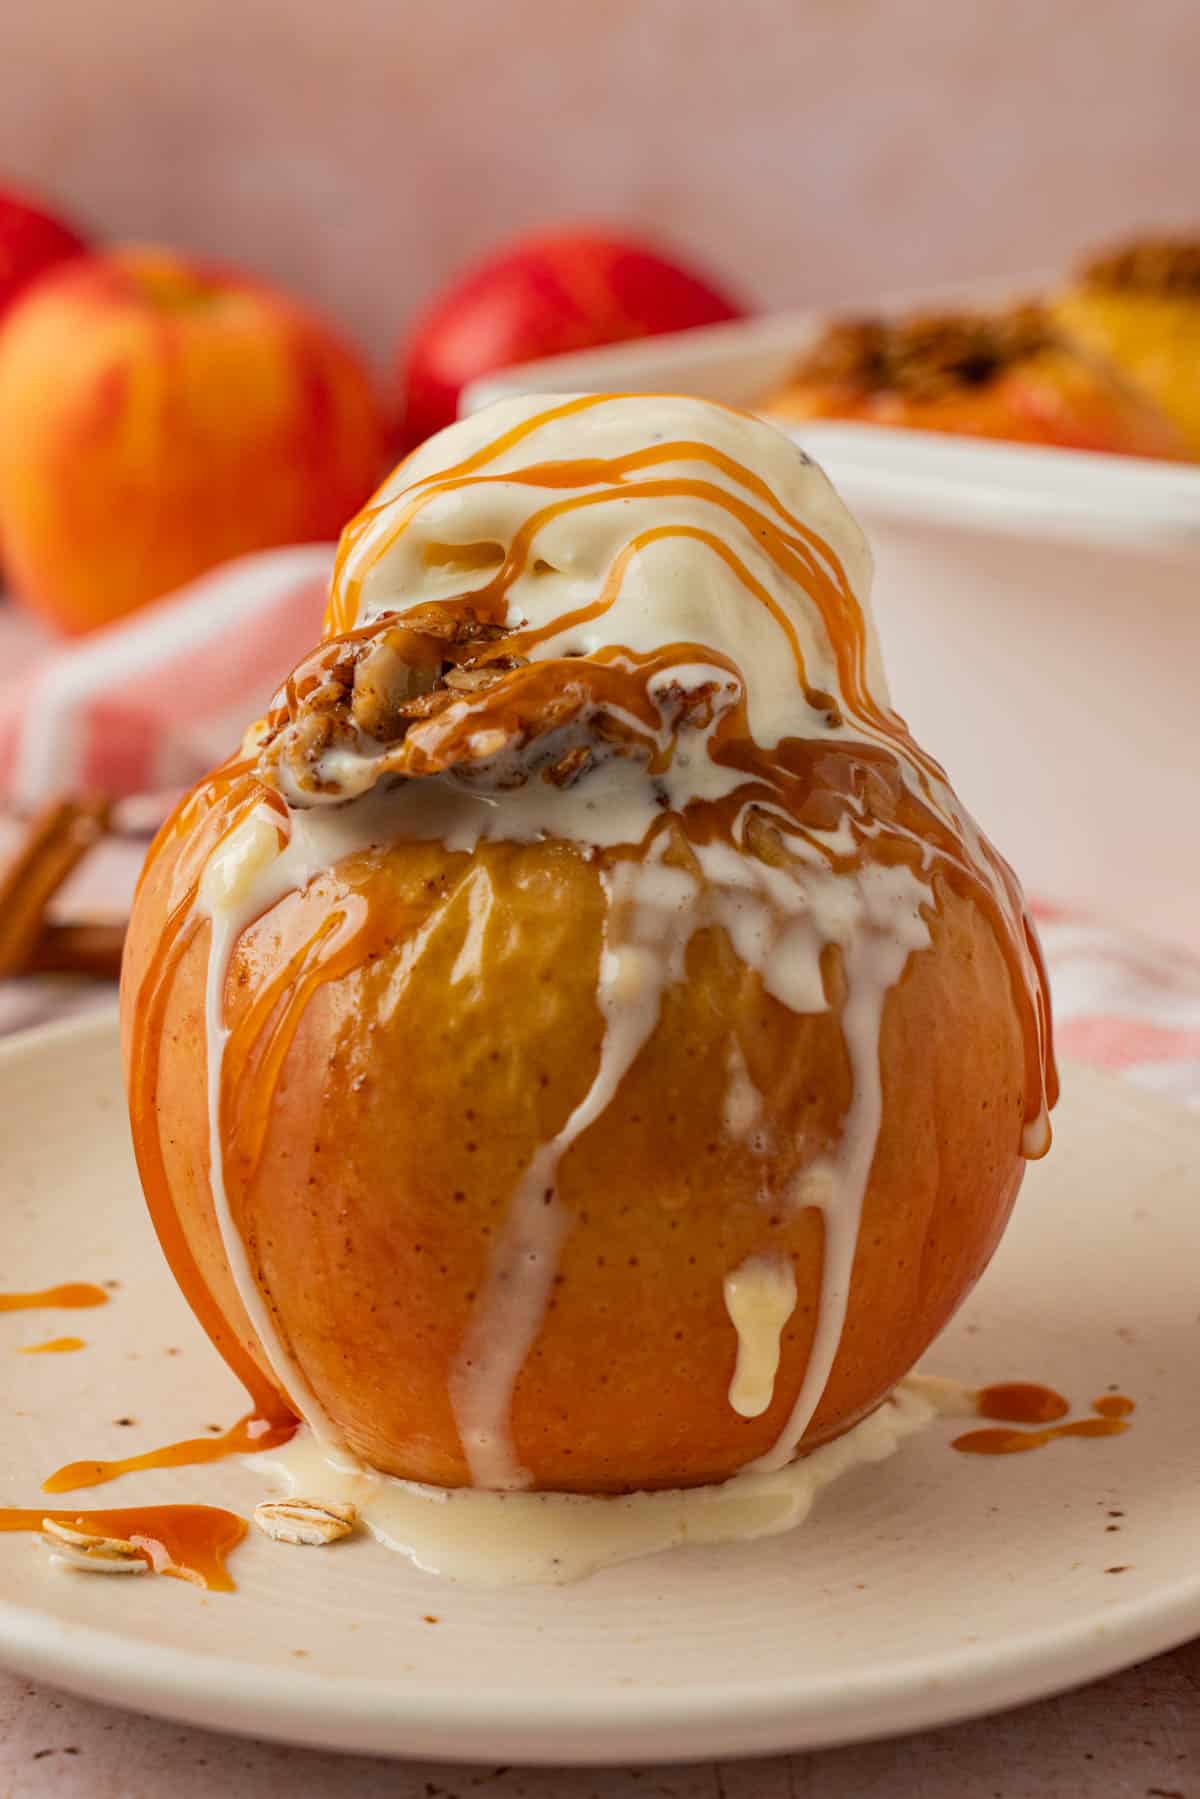
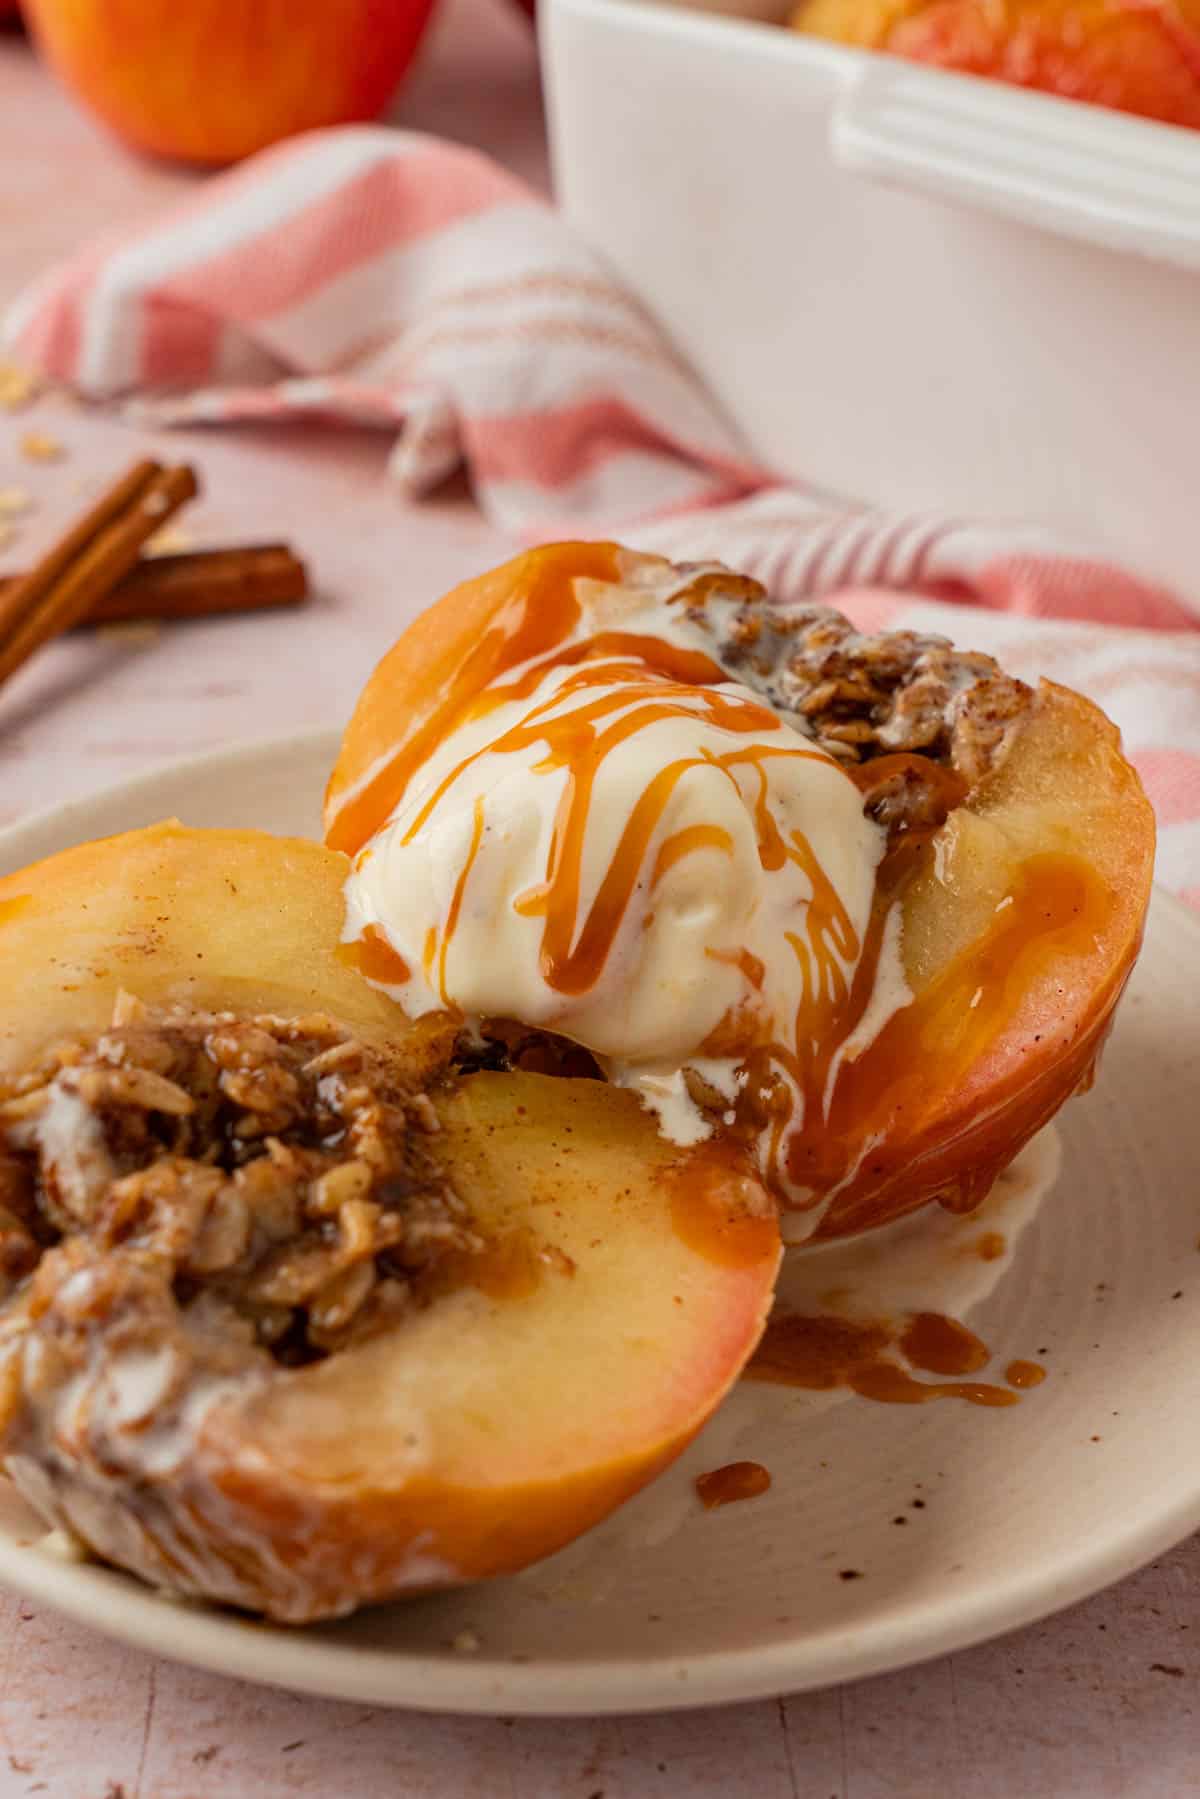
- Top warm with a scoop of vanilla ice cream and a drizzle of caramel sauce.
- Swap the ice cream for a dollop of whipped cream if you prefer.
- Serve alongside a warm mug of apple cider for the ultimate fall dessert moment.
- Sprinkle with a little extra cinnamon just before serving for a pretty finishing touch.
Storage
Let any leftover whole baked apples cool completely, then store them in an airtight container in the refrigerator for up to 4 days. To reheat, warm them in the microwave for about a minute, or pop them back into a 350℉ oven until warmed through.

Expert Tips
- Choose apples that are similar in size so they all bake evenly.
- Be gentle when hollowing out the apples you want to remove the core and seeds without going all the way through the bottom.
- If your apples start browning too quickly on top, loosely tent the baking dish with foil for the last 10 to 15 minutes of baking.
- For the best baked cinnamon apples, don't skip the water in the bottom of the dish it's what keeps everything so soft and juicy.

Stuffed Baked Apples
Ingredients
- 6 large Honeycrisp apples (or other firm apple) hallowed out *see notes
- 1 cup old fashioned oats
- ¼ cup brown sugar
- 2 tablespoons maple syrup
- 5 tablespoons melted butter
- 1 teaspoon cinnamon
- ¼ teaspoon nutmeg
- ⅛ teaspoon allspice, optional if you have on hand
- 1 teaspoon vanilla extract
- ½ cup water

Instructions
- Preheat oven to 375℉. Find a baking dish or pie plate that will fit all six apples.
- Wash and dry apples. Use a pairing knife and spoon to hallow out the core of the apples making a well to fill the oat mixture into. Make sure to remove all of the seeds and core while leaving the bottom intact.
- Line all of the hallowed out apples into the baking dish.
- In a bowl mix together the oats, brown sugar, maple syrup, melted butter and spices.
- Spoon the oat mixture into the center of the apples. Pour water into the bottom of the baking dish. This will create steam and keep the apples soft so they do not dry out.
- Place the baking dish in preheated oven and bake for 45- 60 minutes. This will vary depending on the size and variety of apple and how soft you like your apple.
- Once cooked to desired softness, serve the apples with a scoop of vanilla ice cream or whipped cream and a drizzle of caramel sauce.

Leave a Reply